
Can You Apply New Silicone Over Old Silicone in Bathroom Joints?
“Could I just run another bead over this?” I’d want to look at the existing joint before buying the cartridge. For normal bathroom resealing, my answer would be to remove the old silicone from the section being renewed. With new silicone over old silicone, the original rubber is still part of the repair, along with whatever is making it fail. I’d rather have the bath and tile faces exposed so their condition can be checked. That means allowing time for removal, cleaning and drying, not just dispensing a fresh line.
Looking at the Existing Bathroom Joint
A photograph of a blackened corner doesn’t tell the whole story. I’d examine the edges and the surrounding finish as well as the colour, preferably before cleaning changes what can be seen.
Dirt on a Sound Bead
There may be no reason to replace a bead which is intact and attached on both sides. Soap deposits can collect on bathroom silicone, including neutral-cure products with antifungal properties. A suitable cleaning method is the first option I’d consider for surface dirt. Persistent discolouration may still justify replacement for appearance, but that’s a different decision from repairing a leak.
An Edge That Has Let Go
The line I’d follow is the contact between rubber and bath, including the end near a frame where access is awkward. A lifted edge there deserves attention even with an otherwise presentable bead. Putting fresh material on the face doesn’t reattach the edge beneath it. Without knowing the old layer’s adhesion or the condition behind it, I’d have little basis for accepting a cover as a completed repair.
The surrounding installation deserves attention here. Say a tray moves noticeably under load and the joint opens with it. I’d want the tray’s fixing or support examined in that situation. Soft wall material and loose tiles would also take the enquiry beyond choosing silicone. And the enclosure instructions may show drainage openings: those belong on the installer’s notes as openings to preserve.
Planning the Removal Rather Than a Cover Bead
Once replacement is the decision, I’d mark out a complete section that can be reached and prepared. Ending a tiny patch in rubber that’s already loose merely moves the uncertain part of the repair along the joint.
Removal includes the film at the sides as well as the obvious thick strip. I’d look back at the bath ledge after that strip comes out; thin remnants are easy to miss when most of the rubber is already in the bin. Those are the faces being prepared for fresh contact.
Tool choice depends on what’s around the joint. Glazed tile, an acrylic bath and a coated frame shouldn’t all be approached as though they were the same finish. I’d avoid working a sharp blade into an unseen recess. Apart from scratching the visible fitting, there is the possibility of damaging material behind the seal. If access prevents careful removal, it’s an access problem to resolve, not a reason to bury the obstruction.
Getting the Bonding Faces Ready
The open joint gives you a chance to see what was hidden. Loose debris, cleaner residue and damp recesses can now be dealt with before the cartridge is opened.
Where a Silicone Remover Helps
For residual film, a suitable silicone remover is an option. Read through its removal and cleaning sequence before applying it, so you have what’s needed to finish that operation. Include an inconspicuous trial on a sensitive finish. A corner containing stone and coated metal needs more thought than a demonstration on glazed tile alone.
Shiny tile with soap left on it isn’t the clean bonding face you’re aiming for. Nor is softened residue left by the removal step. Cleaning deserves time of its own after removal.
Time with the Shower Out of Use
Drying includes the recess, which may still hold moisture after a cloth has dried the exposed ledge. Arrange the bathroom’s downtime before starting. In an occupied property, removal and drying may be the awkward part of the schedule, even though applying the replacement itself is relatively quick.
Choosing the Sanitary Silicone After Preparation
Now the materials can be identified properly. “A shower corner” might involve glass, tile, a plastic tray or coated metal, and that information belongs in the product enquiry.
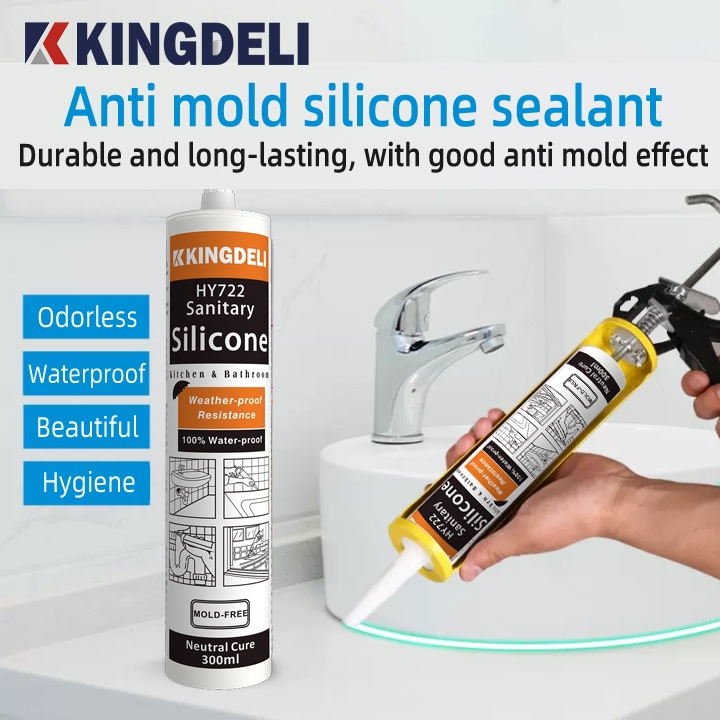
HY-722 Sanitary Silicone Sealant is KINGDELI‘s one-component, neutral-cure option listed for damp areas, including shower enclosures, bathtubs and sinks. Antifungal properties are among its stated features. Those uses make it a relevant candidate, while compatibility with the actual fitting still needs establishing. I wouldn’t extend the words “neutral cure” into approval for every bath or countertop finish.
HY-722B Sanitary Acetic Silicone Sealant also lists bathroom and kitchen applications. The different cure chemistry is part of comparing the products. Colour and cartridge cost can follow the substrate discussion. For a painted detail I’d reconsider the material, since wall paint generally won’t adhere properly to ordinary silicone.
Finishing the Replacement and Allowing It to Cure
Working and tooling follow the selected product’s instructions. The final inspection includes bead ends and turns, where a missed contact line may be less noticeable. Anyone using masking tape also needs to plan its removal within the appropriate working stage.
I’d put the permitted water-exposure interval into the handover notes, using current product guidance for the joint conditions. Feeling the skin at the edge won’t establish cure further inside. After that interval, the bathroom still needs its cleaning and ventilation routine, including attention to soap deposits. The antifungal feature is useful, but doesn’t take over that work.
Product Enquiries with KINGDELI
The sanitary products above are part of the adhesives and sealants manufactured by KINGDELI. Its sample and product enquiry service is a starting point for details and quotations. I’d describe the two substrates and joint position when requesting a sample for repeat maintenance work; that makes a trial relevant to the bathrooms being repaired.
Conclusion
The time I’d reserve for this job is largely preparation time. Having the old bead out lets you examine and prepare what the replacement will touch. Without that, approving the fresh line means accepting an old joint you haven’t been able to assess.
FAQs
What if a little silicone remains in a corner?
I’d clear the faces needed for bonding. In a corner that can’t be reached safely, the next question is how to gain access without damaging the fitting.
Must blackened silicone always be replaced?
Not on colour alone. Where both edges remain attached and the bead is intact, I’d try an appropriate cleaning method before deciding to replace it.
Is a dry-feeling bead ready for showering?
I’d use the water-exposure guidance supplied for the chosen product. A surface touch gives no dependable reading of the material further inside.