
Why Paint Cracks Over Acrylic Caulk and How to Repair It
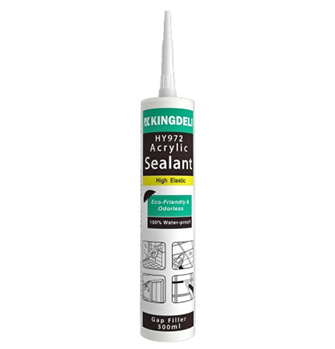
“The caulk said paintable, so why has the paint cracked?” Before ordering a repaint, I’d look below the loose coating to see what has opened. With paint cracking over acrylic caulk, the enquiry may lead to drying shrinkage, movement that the paint couldn’t follow, or lost adhesion at the joint. Recovering the product details and application sequence, if available, helps set the repair scope.
Following the Crack Along the Joint
An undamaged part of the same run is a useful comparison. Look across the painted bead, then along its contact with the trim and wall.
Lines in the Coating
With fine lines scattered across the surface, I’d look underneath the loose paint before condemning the whole bead. The caulk may still be continuous and attached to both sides. Cutting it out now could remove useful evidence and sound material. Find out when the bead was applied and when it was painted. A cold room or a hurried handover between trades would be relevant details, although neither is proof on its own.
A Gap at the Side or Through the Bead
A visible opening through the caulk calls for another approach. At a detached edge, notice what has come away with it. Wall paint on the back of the failed material, with the wall now exposed, is a reason to examine that coating. The caulk may have attached to paint that wasn’t secure. If a piece is already loose, keeping it and photographing the exposed surface can help with the supplier discussion.
These observations come before choosing a replacement from an acrylic sealant range.
What Happened Between Caulking and Painting
For water-based caulk, water has to evaporate during drying, and the condition at the outside isn’t necessarily the condition further in. I’d compare the job’s timing with the selected product’s instructions, not with how soon another caulk can be painted.
A Bead Still Losing Water
As water leaves an acrylic bead, its profile may change through shrinkage. An early paint film is then covering material which hasn’t finished changing. That may explain cracks across a recently decorated line. The depth of the fill and the room conditions belong in the investigation too; a deeper bead in cool, humid surroundings won’t behave like a small one under favourable drying conditions.
There’s a scheduling issue here for the decorator. Dispensing and tooling a bead takes a short time compared with waiting for the required painting condition. I’d allow for that interval when arranging the work. “Touch dry” isn’t a general substitute for a product’s overpainting instructions, and a paint-ready time from a different formulation doesn’t settle the question.
Movement After Decoration
A second possibility remains even after adequate drying: the paint may not follow the sealant’s movement. A fine line in the paint therefore doesn’t automatically prove that the bead beneath it has detached. On the other hand, trim which visibly moves or a gap which keeps reopening deserves attention before another cosmetic repair is specified.
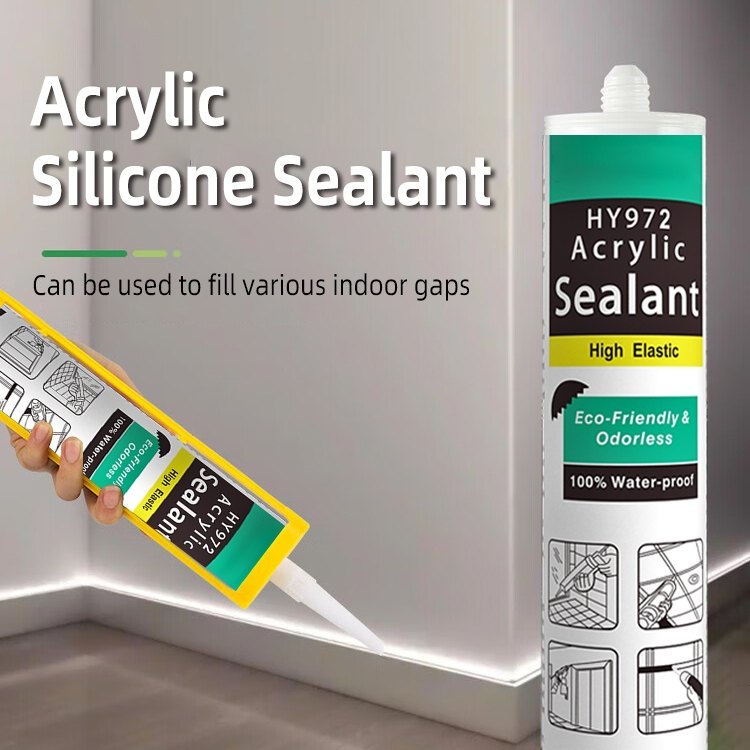
HY-972 High Elastic Acrylic Silicone Sealant is described for joints with slight movement or vibration. Its listed uses include door and window joints, cabinets and skirting. I’d retain that qualification when considering it for a job. “Slight movement” isn’t a measured allowance for any recurring crack, nor does it establish the stretch of the paint selected to cover it.
Choosing How Much of the Joint to Repair
With the damaged layer identified, the scope is easier to discuss. I’d be reluctant to cut out a sound bead solely for loose paint, whereas an opening in the bead itself would put joint replacement on the agenda.
With a coating repair, the loose paint needs lifting without taking a slice out of the caulk. The paint supplier can advise on preparation for the intended coating. Try a limited area before repeating the combination along every doorway. Let it reach the required drying condition and inspect it again. That can expose a finishing problem, though a short trial can’t represent every future movement cycle.
A failed bead takes the work back to the bonding faces. I’d remove the failed material and any loose surface layers, while also addressing trim that won’t stay put. A deep gap also raises a joint-design question. More caulk isn’t an answer until the recommended dimensions and any backing requirements are known. A larger fill also takes longer to dry.
Trying the Intended Caulk and Paint Together
Use the actual paint and caulk on a representative surface, with the planned preparation and a recorded interval before painting.
Details Worth Keeping from the Trial
I’d keep the product names alongside the gap dimensions, conditions and painting interval. Changing everything for a second trial leaves an awkward question if it succeeds: which change helped? A few notes are easier than reconstructing that sequence after the cartridges and paint tins have gone.
For a decorating enquiry, another candidate is HY-973 Gap Filler Acrylic Silicone Sealant. KINGDELI describes this water-based product as paintable and lists gap filling at window frames, ceiling lines and door-to-wall joints among its uses. Its own instructions, rather than a competitor’s waiting time, should govern the sample application.
Material Left from a Previous Repair
An existing bead also needs identifying: is it really acrylic? Paint generally won’t adhere properly to ordinary silicone. Finding it in an earlier repair would take me back to removal and preparation, before assessing the proposed painted finish. A similar-looking cartridge isn’t evidence that the materials will finish the same way.
Acrylic Product Enquiries with KINGDELI
HY-972 and HY-973 belong to the acrylic range from adhesive and sealant manufacturer KINGDELI. Details, samples and quotations can be requested through its product enquiry service. I’d send the substrate, gap dimensions and proposed paint with a sample request. That gives the evaluation a defined application instead of asking whether a cartridge is generally “good for decorating.”
Conclusion
The useful starting point is the exposed failure, before fresh paint hides it. I’d decide how far to take the repair from that inspection, then work through the product instructions and trial. It leaves fewer unanswered questions than repeating the original finish and hoping the line stays closed.
FAQs
Is another coat of paint worth trying?
I’d consider it after establishing that the bead underneath is sound. Where the caulk has detached, the repair has to go further than paint.
Can every acrylic caulk be painted after the same interval?
No; plan the interval from that product’s instructions and the actual fill. Cold or humid conditions and a larger bead can alter the schedule.
Does paintable caulk rule out cracking?
No. It identifies a finishing option, rather than approving the whole assembly. I’d still want the drying conditions and the intended paint checked against the joint.