
Cloudy Clear Adhesive Behind Glass: What Causes Haze and Visible Bond Lines?
The clear adhesive can be completely invisible coming out from the cartridge. But after placing the glass panel, the adhesive may become highly visible. The workers can see either the milky appearance or some bubbles. Uneven lines can be seen if the sun rays fall on the joint area. In case of glass-to-metal trim, display fixture, and decorative assembly work, there is one thing that needs to be done in the first place. It could also just sit on the substrate. Sometimes, it is merely an optical effect caused by the joint design.
Is the Cloudiness Actually Inside the Adhesive?
Do not remove a panel right away. First, check the mark from multiple angles. Look at it under different lighting conditions. A plain glass surface can easily trick the eye. It can make normal surface dirt look like a serious defect inside the bond line.
Separate surface film from trapped haze
Select a convenient test area. Clean the area in a manner which is safe for that particular type of glass and coating. If the stain disappears, then it must have been merely resting on the surface of the glass. However, a stain that remains apparent from both sides is possibly trapped within the laminated composite. It is imperative to thoroughly inspect the edges for any residue of cleaning liquids, residue of protective films, fingerprints, or moisture. Solvents should never be used for cleaning coated glass without proper authorization. Otherwise, it may lead to new staining.
Check whether the glass is making the bond more visible
Color change, shadowing at edges, and subtle differences in thickness tend to show up well in clear glass. A bead of sealant may appear completely clear when placed on a white sample card. This same bead will appear dark gray in relation to a black frame. It is important that the new joint be compared to a known good sample using the exact same materials and lighting conditions. Make sure to maintain bead size and distance during your test.
Why Do Bubbles and White Streaks Appear in a Clear Bond Line?
Visual flaws usually point back to how the adhesive was put on. They can also relate to the physical condition of the building materials. You should look closely at the shape of the defect. This close inspection helps much more than a wide photograph of the whole installation.
Entrapped air and interrupted application
Pausing and starting a bead again can easily trap small pockets of air. Pushing down on a panel unevenly might fold the material over itself. This folding action creates pale streaks or single bubbles. Empty gaps between beads can also cast dark shadows. These shadows often look just like a cloudy patch. During a test run, write down the nozzle size and bead spacing. Note the panel pressure and total assembly time. Does the bad pattern show up at every restart or corner? If so, you should fix your dispensing process before you blame the chemical formula.
Residue, coatings, and changing cure conditions
Glass is rarely perfectly bare on a chemical level. Surface coatings, printed borders, old primers, and leftover protective films will alter the final look. They also affect the overall adhesion. Certain moisture-curing polymers react heavily to room conditions and joint depth. A thick, hidden section will cure very differently compared to a thin, open bead. A milky look by itself does not mean the cure failed. You must test the firmness and grip on scrap samples. Do this after the required waiting time ends. Please avoid poking at a customer’s finished glass panel.
Does a Crystal-Clear Product Guarantee an Invisible Joint?
No, it does not. The phrase “crystal clear” merely describes how the raw product looks. It is never a strict promise that every finished job will be completely invisible. Your joint design and material choices still dictate what the final user actually sees.
Bond thickness, substrate color, and viewing angle
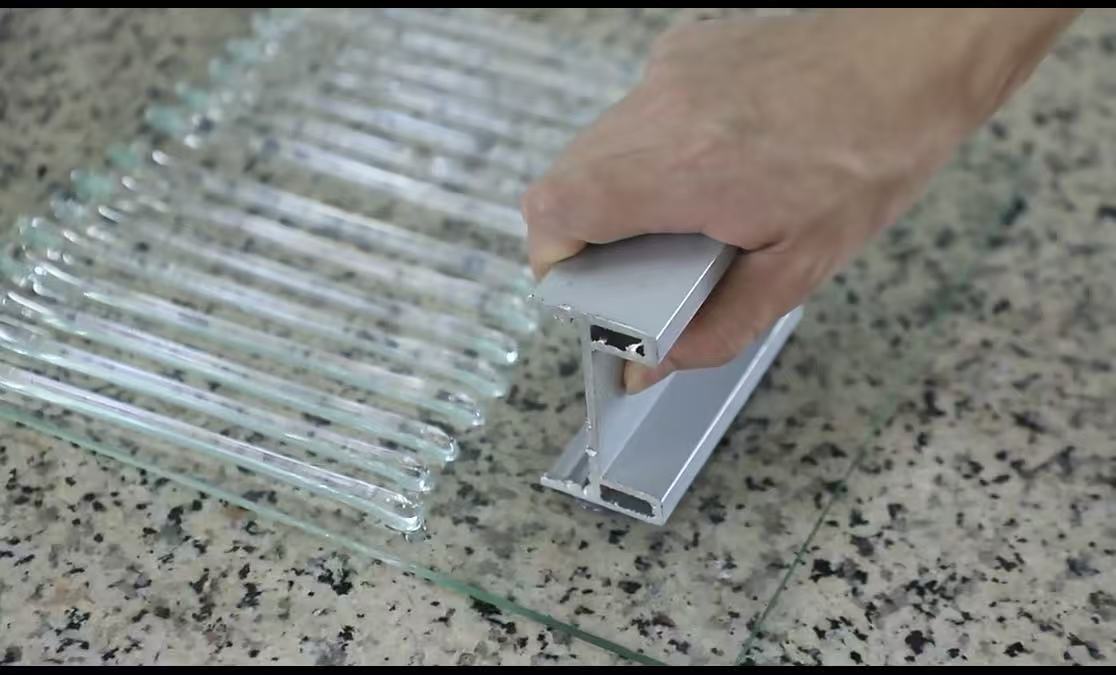
The narrow line of glue will almost always have a completely different appearance than a wide and raised ridge of the same glue, even when using the identical materials. The rough edges of raw glass, the smooth finish of metallic materials, and the vibrancy of colorful backing materials may alter one’s perceptions of clarity. For professional decorative purposes, one must construct a full-scale model. Do not simply place a small dab of glue on an experimental sample of glass. Examine the model in natural light and artificial light.Write down what a good result means for this job. Does it mean zero bubbles? Does it mean a steady color or mostly invisible edges? These are all very different grading rules.
Where transparent bonding should not be assumed
A basic clear sealant is never automatically safe for heavy structural glazing. It is also not meant for laminated safety glass or large aquarium tanks. You cannot use it blindly in places where the adhesive layer holds a certified heavy weight. Those demanding systems require their own specific product approvals. They need strict compatibility data and highly engineered joint plans. The MS Sealant/Adhesive product range is a helpful starting point to find good options. However, your final choice must strictly match the actual assembly blueprint.
How Can Installers Troubleshoot a Hazy Joint Without Guesswork?
First of all, you must use the same group of testing specimens. Then you have to alter just one factor at a time. It is far better than simply going to another brand. Changing brand will never help when you are always using dirty glasses and bad techniques.
Create a controlled three-sample comparison
Build one sample using your normal daily process. Make a second one using deeply cleaned substrates. Finally, make a third one using perfectly measured bead dimensions. You must use matching glass, metal, and backing boards for all three tests. Mark every piece clearly. Write down the adhesive lot, the application date, the room temperature, and the exact observation time. Take a picture of each item against the exact same background. Does only the deeply cleaned sample look better? If so, surface dirt is a much stronger suspect than the adhesive itself.
Evaluate appearance and bond quality separately
A great-looking sample might still fail to hold tightly. Conversely, a highly visible line might actually bond very well. Wait for a proper curing time to pass. Then, test the grip using an approved method that fits your specific project. KINGDELI’s metal-and-glass adhesion troubleshooting guide talks about standard surface problems. Importers who want to compare different products can also rely on a sealant sample testing checklist. This tool helps standardize inspections across multiple batches and various suppliers.
Where Does KINGDELI HY-995 Fit in Clear Bonding Projects?
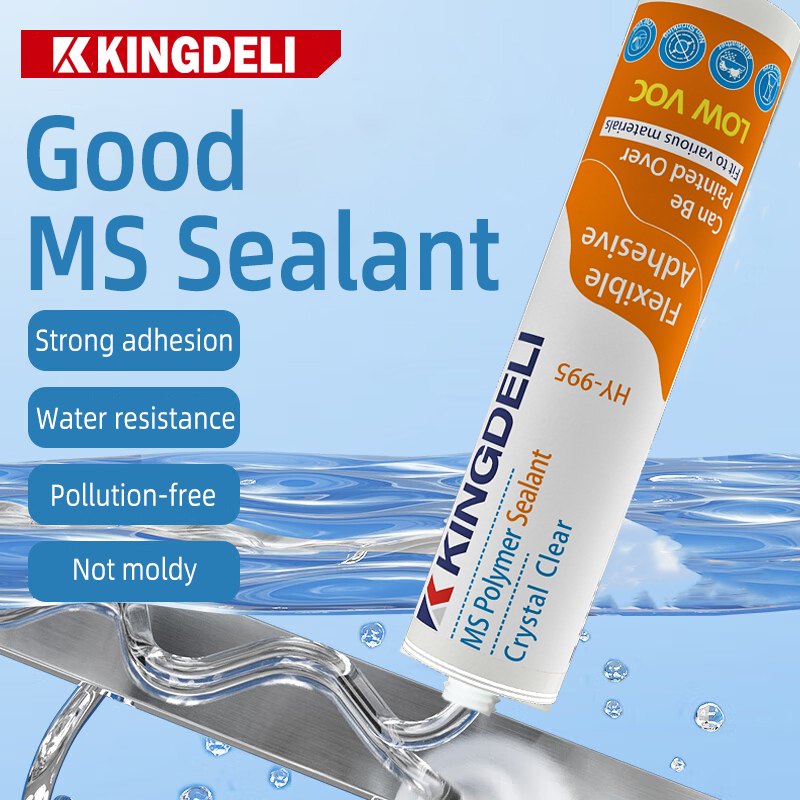
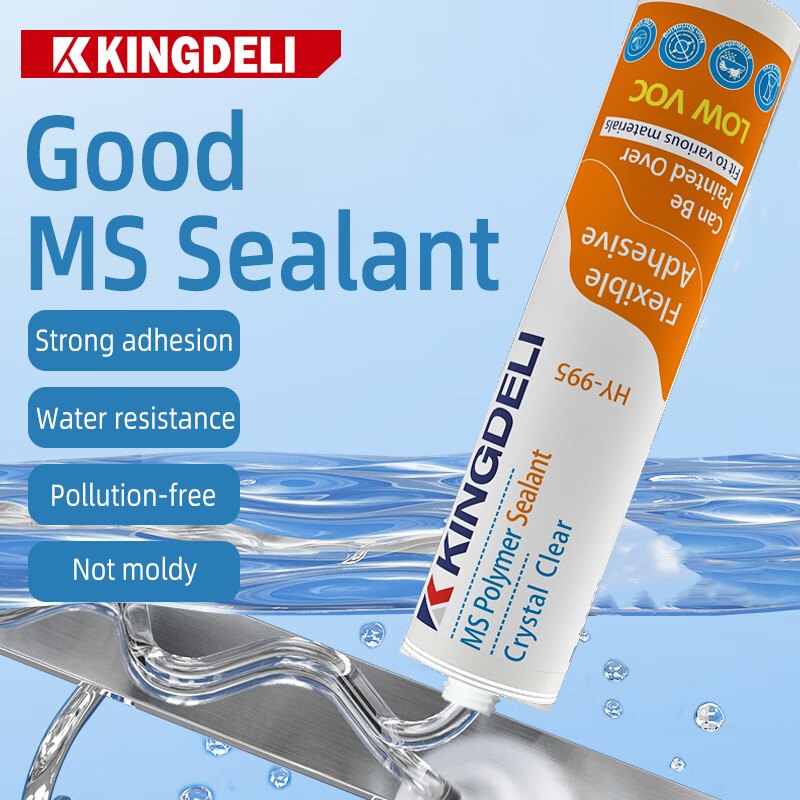
HY-995 Crystal Clear MS Polymer Adhesive/Sealant is presented by KINGDELI as a clear, flexible, and waterproof MS polymer product. It offers strong bonding capability on many materials. These include glass, aluminum, stainless steel, PVC, wood, and natural stone. The official product sheet lists 280/300 mL cartridges and 500/600 mL foil packs. However, it does not guarantee perfect optical-grade transparency for every single glass setup. Buyers need to ask for the newest technical data. They should always test samples on their own specially coated substrates.
KINGDELI is a Foshan-based manufacturer of sealants and adhesives. The company has deep experience helping export and OEM customers. For clear-joint projects, its real value as a supplier stands out early on. They help discuss substrate compatibility and exact appearance targets. They also plan out packaging and repeatable sample evaluations well before you buy in bulk.
Conclusion
Cloudiness behind a glass panel is merely a symptom. It is never a final diagnosis. You must start by finding exactly where the visible defect sits. After that, compare your cleaning methods and bead geometry. Consider the substrate as well as the local curing environment. Physical adherence rules must always be completely separate from appearance rules. A physical mock-up that is well-documented is a better foundation to base the product approval on than a clear bead on a good background.
FAQs
Can clear MS polymer adhesive become cloudy after application?
Yes, a joint can look cloudy due to several factors. These include trapped air, dirt contamination, or uneven thickness. Reflections or sudden material changes can also cause it. Visual appearance alone will not identify the root cause. You need to compare controlled samples carefully. Always consult the product’s most current technical guidance.
Is clear adhesive suitable for bonding glass to aluminum?
Some clear MS polymer adhesives do work well here. Products including HY-995 list both glass and aluminum as highly compatible material types. However, special coatings, heavy loads, weather exposure, and joint design still demand project-specific testing. You must never assume this means full structural-glazing approval.
What should a distributor test before ordering clear adhesive in bulk?
You must use the actual local glass and metal finishes for your tests. Compare the final appearance and the extrusion speed. Check the cure behavior, the final adhesion, and the shelf-life information. Look at the packaging from several representative lots. Finally, confirm all technical requirements and test evidence directly with the manufacturer.