
Windshield Leaks After Replacement: Is the Urethane Bond or Vehicle Drainage to Blame?
Finding the car’s dashboard wet after installing a windshield often leads to immediate complaints about the adhesive used. But the water could have found its way into the vehicle via several different entry points. This includes entry points like the bonded glass line, a roof seam, the cowl panel gap, and sometimes the blocked drain system. For both auto-glass repair shops and fleet service customers, it would be better to take a cautious approach. This involves first identifying the entry point and then preserving the evidence.
Is the Water Entering Through the Windshield Bond?
The spot where moisture shows up is rarely the exact place it got inside. Fluid can easily move behind interior trim. It can also flow along wiring harnesses before finally soaking the carpet or dashboard.
Trace the leak before removing the glass
Make sure you always pay attention to the time at which the leak happens. Is it occurring when there is heavy rainfall, in the car wash or simply by parking the car on a slope? Always make sure to inspect any wet areas around the headliner, the A-pillar, the four corners of the roof and the cowl area. Inspect the adjacent roof seams and mounts of any exterior accessories. Professionals are able to perform a water test. It helps in identifying the exact spot from where the leak enters. Don’t spray water directly through the trim openings under pressure.
Distinguish condensation from rainwater ingress
The presence of fog on the windshield along with a wet cabin does not mean that both have the same cause. Usually, high levels of moisture inside, wet floor mats, and clogged HVAC drainage channels lead to excessive condensation.You should see if moisture builds up while the vehicle stays dry outside but runs the air conditioning inside. If the main source remains a mystery, take clear pictures. Write down your test notes before taking any car parts apart.
What Urethane Bond Defects Can Cause a Corner Leak?
Once you confirm fluid at the glass-to-body joint, look closely at the past assembly process. Adhesive and its selection along with surface preparation is extremely significant. Also, urethane bead geometry and installation method have a very critical role to play in sealing success.
Gaps, bead discontinuities, and compression errors
Not applying one portion, poor corner application, or inconsistent bead height is all that is needed to end up with a wide-open area in the seal. Uneven pressure of the glass can destroy the good bead profile.Once the bead becomes dried out, it will be really hard to make repairs in the area and the result will be very poor. The process of keeping shop records needs to involve the name of the dispensing gun and the time when the bead was applied. Other important issues to consider include the bead placement and the glass alignment.
Pinchweld contamination and coating damage
The pinchweld can be absolutely clean from any contaminants with a naked eye, but there can be some residue left that includes wax, silicone polish, leftovers from previous gluing and even rust. In most cases, slicing out the old windshields scratches the protective coat. It is necessary to strictly follow the recommendations of both the automobile manufacturer and adhesive company regarding the work process involving urethane removal, metal surface treatment, rust prevention and others. The primerless product label doesn’t allow you to do without surface preparation on any car.
Could a Cowl or Drainage Problem Imitate a Failed Bond?
Not every single leak around the windshield actually involves the glass glue. Plastic covers and metal body channels gather and guide rainwater. This flowing fluid often travels very close to the reported wet spots.
Cowl drainage and trim alignment
Dead leaves, street dirt, loose rubber seals, or badly fitted cowl covers can push rainwater toward hidden holes below the windshield. This stray fluid might then drip near the passenger floor or onto sensitive electrical boxes. Always inspect nearby drains and connecting parts during your main diagnosis. Never plug up designed drainage paths just to hide a leak symptom. Trapping moisture inside the frame will simply cause much bigger issues later.
Roof seams, accessories, and older repairs
Factory roof rails, radio antenna bases, old collision repairs, and upper metal seams can let rainwater run straight down an A-pillar. Because of this, a wet top corner is never solid proof of a bad windshield bond. The real leak source could easily sit above the glass. It might also hide beside the window or behind a plastic interior panel.
What Should a Workshop Record Before Making a Repair?
Keeping a highly detailed service log helps ensure a correct diagnosis. It also makes future conversations with material suppliers much easier.
Preserve lot information and installation conditions
Always write down the glass part number, the exact adhesive brand, the batch lot, and the expiration date. You must also log the storage climate, room temperature, air humidity, the specific installation time, and the approved working steps. Keep clear notes regarding surface cleaning, primer usage, tool settings, and the given safe-drive-away advice. Snap clear pictures of any suspected holes before you touch the old joint. KINGDELI’s polyurethane application and precautions article gives helpful general background knowledge. However, the specific instructions for that exact vehicle always remain the top priority.
Separate leak testing from safety approval
A newly installed windshield might easily pass a basic water test. Yet, its fresh bond might still fail to meet strict safety and crash-protection standards. In the same way, a dry outer skin does not guarantee a fully cured center. Decisions about reinstalling glass, judging bond strength, and setting release times belong strictly to trained automotive-glass experts. These professionals must follow the correct vehicle and adhesive-system rules. You should never swap a proper safe-drive-away calculation for a random 24-hour guess.
How Should Buyers Evaluate Windshield Urethane Adhesive?
When distributors and busy fleet workshops face repeated leak complaints, they should start a careful product comparison. They should not just blindly swap to a cheaper brand. Testers need to use real vehicle metal parts, standard application steps, and officially recorded adhesion trials. Buyers must check the dispensing smoothness, the required surface prep steps, the curing speed, and the overall packaging quality. A useful sealant sample testing checklist helps manage the supplier review process. Meanwhile, a good metal-and-glass adhesion troubleshooting guide explains frequent bonding failures. Furthermore, automotive glass work always demands extra safety-focused testing.
Which product information matters for HY-927?
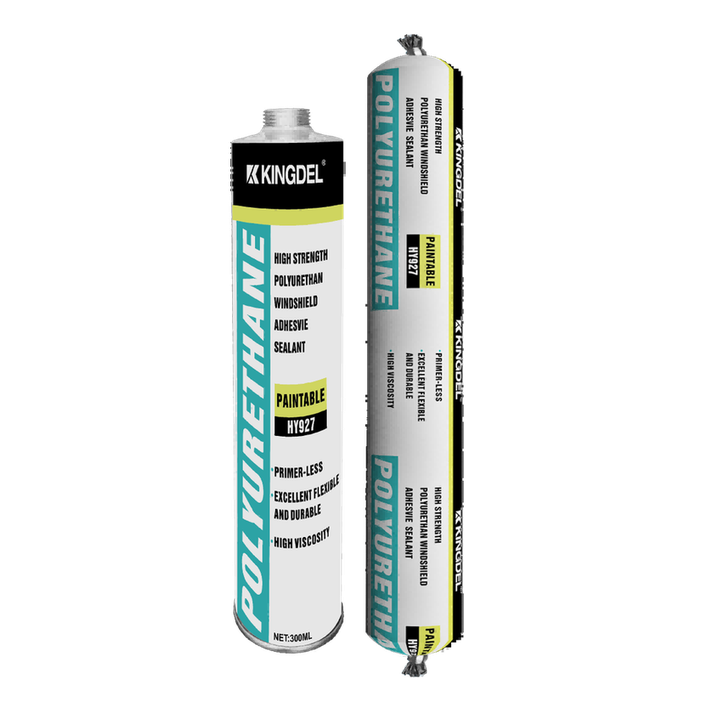
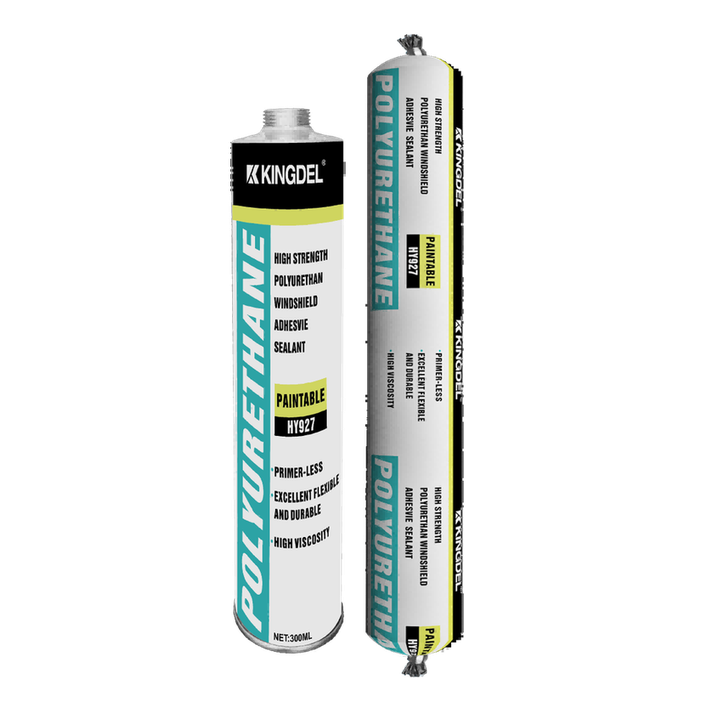
HY-927 High Strength Polyurethane Adhesive for Windshield serves as a one-component, moisture-curing glue. KINGDELI offers this specific item for direct glass bonding in both OEM transport and aftermarket repair shops. The manufacturer highlights its powerful grip and its medium thickness. They also clearly state that only trained professionals should apply it. Their wider polyurethane sealant range features several other auto glass options. However, picking the best one requires reading updated technical data sheets and running tests on real car parts. Flashy marketing materials alone can never determine true vehicle safety or the correct safe-drive-away schedule.
Why Work with KINGDELI for Automotive Adhesives?
KINGDELI produces high-quality sealants and industrial glues in Foshan, China. The factory provides strong export services and reliable OEM backing. Whenever buyers review a new windshield glue supplier, they need to ask for up-to-date technical sheets and safety records. They should also demand strict batch tracking, proven material compatibility tests, and a simple process for resolving customer complaints.
Conclusion
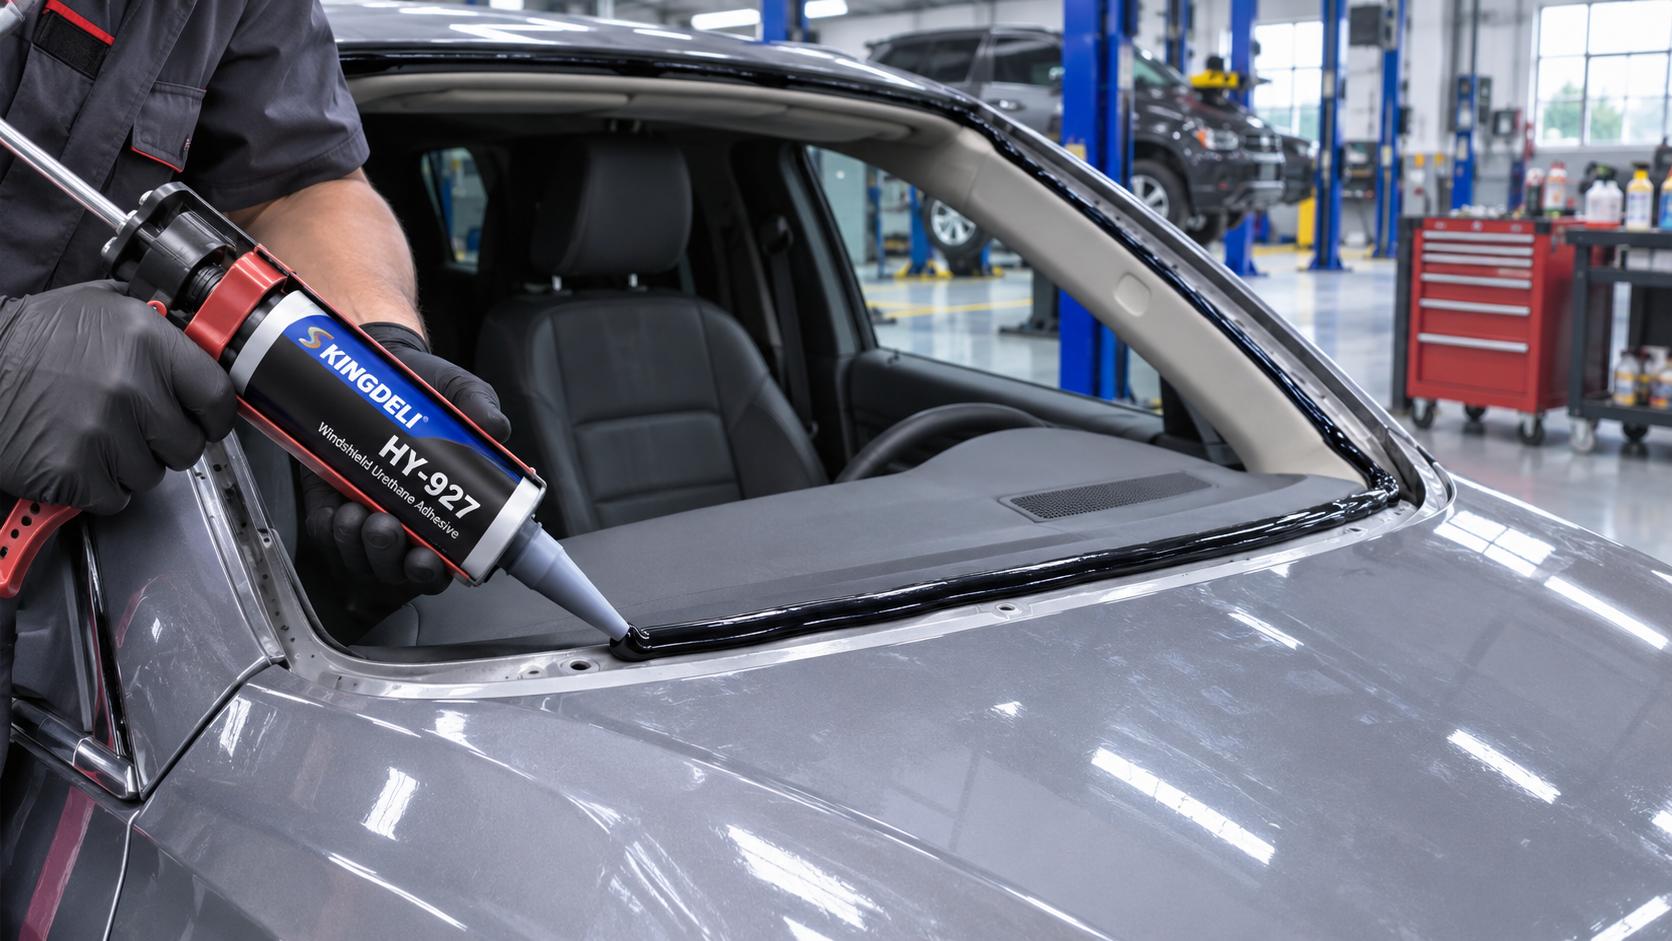
Spotting a water leak right after a glass replacement requires a careful, fact-based inspection. Mechanics should never just blindly pump more urethane into the gap. First, confirm the exact water path. Next, review the pinchweld condition and the recent bead application steps. Finally, inspect nearby drainage tubes and metal body seams. If the evidence points directly to a failed windshield bond, workers must use an approved auto-glass repair method. They must also follow strict, documented release rules. Doing things this way ensures excellent repair quality and protects passenger safety.
FAQs
Can a windshield leak even when the urethane bead looks continuous?
Yes, it certainly can. A bead that looks perfectly solid from the outside might actually hide bad surface wetting or hidden dirt. It could also suffer from wrong glass compression or sit right next to a hidden water channel. Simply looking at the edge is never enough to confirm the true bond strength or find the real leak origin.
Does primerless windshield adhesive mean no surface preparation is needed?
No, it does not. The term "primerless" only applies to very specific, tested materials and application methods. Proper surface cleaning, rust prevention, and other vital prep tasks are usually still mandatory. You must always check the rules provided by the car builder and the chemical supplier.
Can I drive immediately after a windshield water-leak repair?
You should never assume that passing a quick water test makes the car safe for the road. The trained glass installer must strictly follow the chosen adhesive system guidelines. They must also monitor the local curing climate and obey the exact safe-drive-away rules for that specific vehicle repair.